
 One of the things that annoys me the most when watching someone’s presentation (unless it’s by Daniel Pink) is that there is no way to tell how many slides are left. Can I still nap, or can I start packing up my gadgets….?
Here is a solution for how to get less powerpointless when presenting and let your audience know where you stand in the deck flow. With this nifty macro you can add a progress bar to your presentations. It’s a simple procedure, anybody can do it. Even you! Just follow these steps.
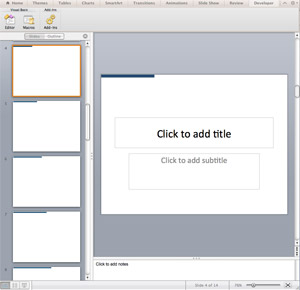
- In Power Point, go to Tools > Macro > Visual Basic Editor.
- In Office 2010 you might need to activate the Developer tab in order to get to the editor.
- The Mac version will take you there through Developer tab > Editor.
- Once you are in the editor, go Insert > Module.
- Paste the following code in this newly created module:
Sub Presentation_Progress_Marker()
On Error Resume Next
With ActivePresentation
For N = 2 To .Slides.Count
.Slides(N).Shapes(“Progress_Marker”).Delete
Set s = .Slides(N).Shapes.AddShape(msoShapeRectangle, 0, 0, N * .PageSetup.SlideWidth / .Slides.Count, 10)
Call s.Fill.Solid
s.Fill.ForeColor.RGB = RGB(23, 55, 94)
s.Line.Visible = False
s.Name = “Progress_Marker”
Next N:
End With
End Sub - Close the editor.
- Finally, run the macro: Tools>Macro>Macros and select—Presentation_Progress_Marker.
Once the macro runs, you will see a nice blue line going through the top of your deck starting on the second slide. Obviously, you can control the color, position and pretty much any attribute of the progress bar within the code, it’s all there 🙂
Now go impress your colleagues with this new awesome feature of your decks!


 your Deep Freeze license count and free for up to 3 years