Whether you're at work, at home, or anywhere in between, Deep Freeze Cloud allows you to manage your IT from one unified platform. In addition to the patented reboot-to-restore Deep Freeze solution, the platform includes software deployment, power management, asset tracking, mobile device management and a host of other solutions to make your day that much more efficient.
Setting up a new application is no small task, so we'll guide you through the basics of configuring Deep Freeze Cloud. You'll have your environment up and running with Deep Freeze Cloud services in no time!
Follow the 3 steps below to get started!

Deep Freeze Cloud is a policy driven application. In order to get started, you will have to first create a policy which will be associated with the computers you manage. You can have one policy for all your computers, or have different policy for each computer. You can always make changes in your policy at a later time, which will automatically get reflected in your computer's configuration. To get started with your first policy, follow the steps below:
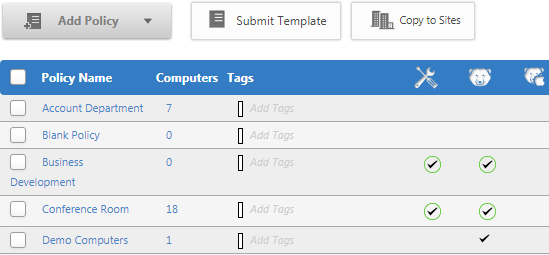
Deep Freeze Cloud groups help organize computers. Policies can be optionally enforced based on the particular group a computer falls into. To create a group, follow the steps below:

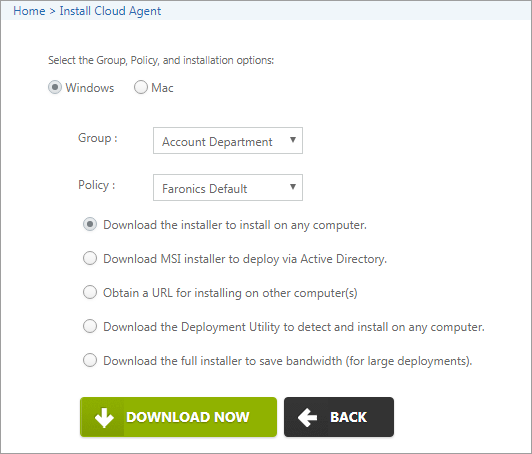
Once you have created your Policy and the Group, you can go ahead and deploy the Cloud Agent on your computers. There are different options available for deploying the cloud agent to fit different environments.
To begin deployment, follow the steps below:

Once the Cloud Agent is installed, the computers will automatically show up under the Computers page and you will be able to manage them by performing live actions or by reassigning policies.
Each page has a blue question mark ![]() on the top right corner.
on the top right corner.
Whenever you click on it, you will be redirected to the appropriate section of the User Guide.
If that doesn't help, please call Technical Support at any point to get a personalized walkthrough of Deep Freeze Cloud.

 Back To Guide