|
1.
|
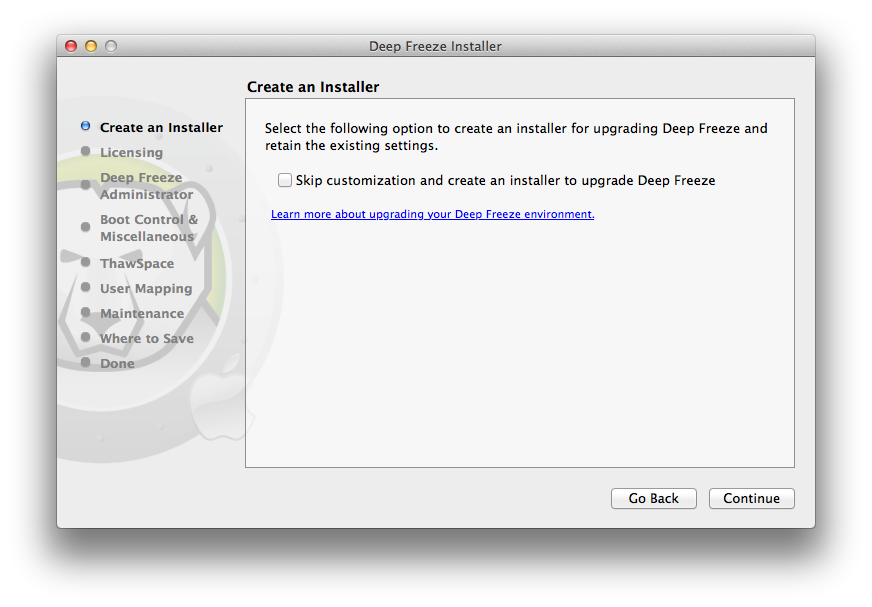
The following screen is displayed. There are two options:
|
|
•
|
Option A: Create an Upgrade Installer: Select Skip customization and create an installer to upgrade Deep Freeze to create an upgrade installer. This will upgrade Deep Freeze with the existing settings.
|
|
•
|
Option B: Customize the Installer: Do not select Skip customization and create an installer to upgrade Deep Freeze.
|
Click Continue. (For this example, we have selected Option B.)
|
2.
|
|
3.
|
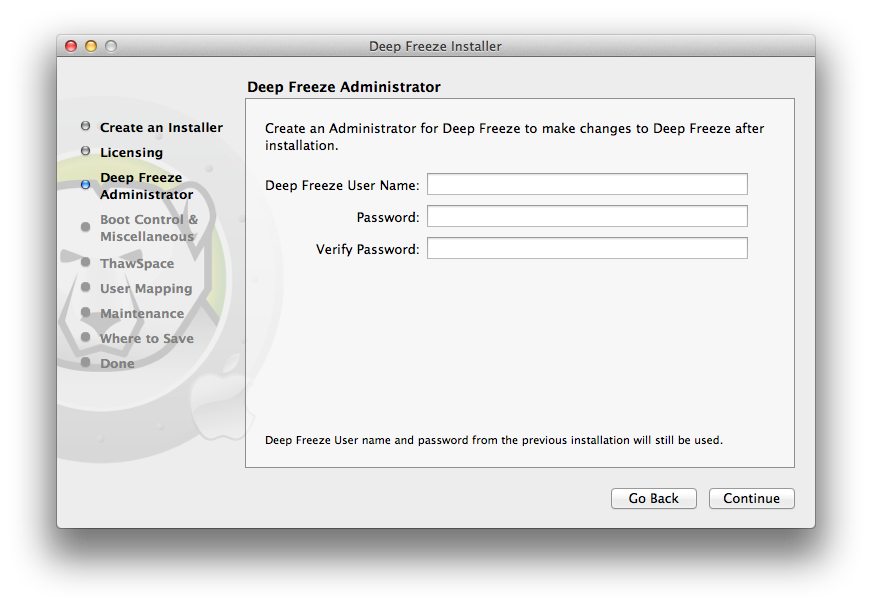
Create an Administrator for Deep Freeze. Specify a Deep Freeze User Name, Password and verify the password. Click Continue.
|
|
4.
|
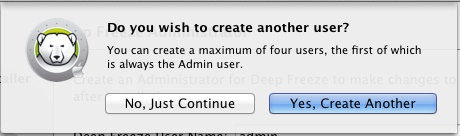
Create additional users (optional). For this example, we have selected No, just continue.
|
|
5.
|
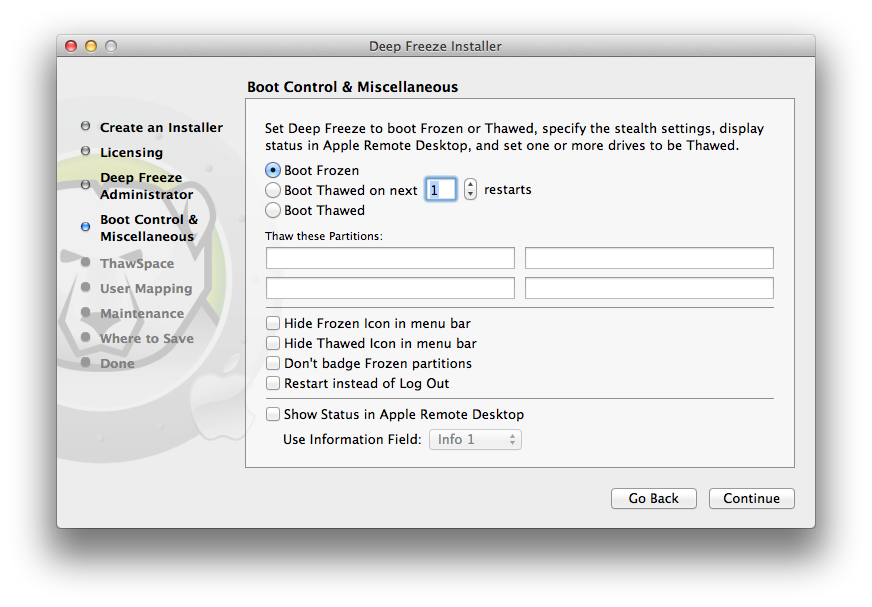
Select the following settings and click Continue.
|
|
•
|
Boot Frozen — select this option to boot the computer in Frozen state. This enables Deep Freeze protection after restart.
|
|
•
|
Boot Thawed on Next x restarts — select this option if you want the computer to restart x number of times in a Thawed state before restarting in a Frozen state. Select the value of x from the spin box.
|
|
Use the Boot Thawed on Next x restarts for quick changes. For installing or upgrading your software, you may want to use Boot Thawed to complete and test your installation.
|
|
•
|
Boot Thawed — select this option to boot the computer in a Thawed state. This option disables Deep Freeze protection after restart to allow permanent changes to the computer.
|
|
•
|
Thaw these partitions — specify the partitions you want to remain Thawed (even when the computer is in a Frozen state).
|
|
•
|
Hide Frozen icon in menu bar — select this option to hide the Frozen icon in the menu bar.
|
|
•
|
Hide Thawed icon in menu bar — select this option to hide the Thawed icon in the menu bar.
|
|
•
|
Don’t badge Frozen partitions — select this option if you do not want to badge Frozen partitions.
|
|
•
|
Restart instead of Log Out — select this option to restart the computer when a user logs out.
|
|
•
|
Show status in Apple Remote Desktop — select this option to show status of Deep Freeze in Apple Remote Desktop. Select the field from the drop-down that will be used to show status. This will show if the computer is in Frozen or Thawed state.
|
|
6.
|
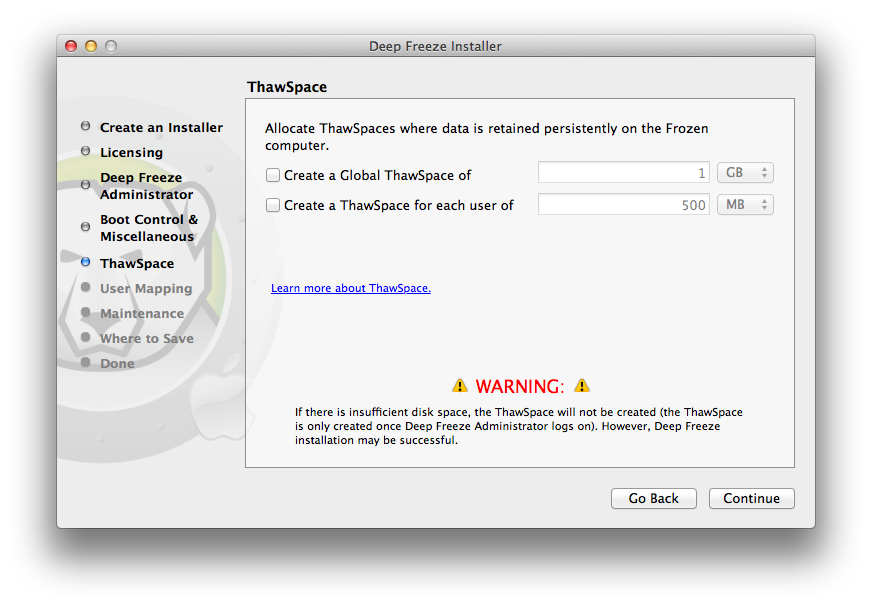
Select the following options in the ThawSpace tab and click Continue. A ThawSpace is a virtual partition where data is retained across multiple restarts even when the computer is in a Frozen state. A ThawSpace is not protected by Deep Freeze.
|
|
•
|
Create a Global ThawSpace of — select this option to create a ThawSpace that will be accessible to all users to store their data. Specify the size of the ThawSpace.
|
|
•
|
Create a ThawSpace for each user of — select this option to create a ThawSpace for each user. Specify the size of the ThawSpace.
|
|
7.
|
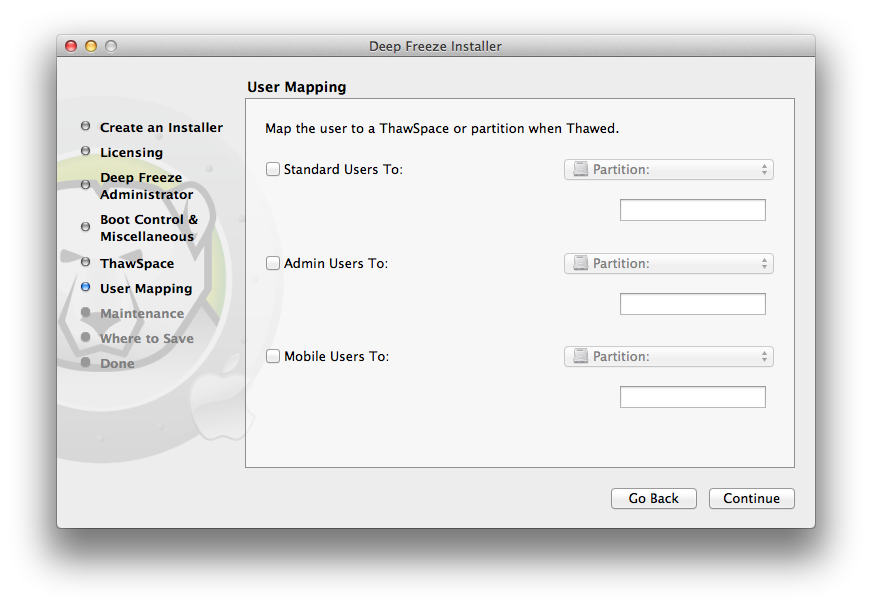
Select the following options in the User Mapping screen and click Continue. User Mapping allows administrators to redirect user profiles to a ThawSpace or a Thawed disk to allow data retention across multiple restarts.
|
|
•
|
Standard Users To — select this option and specify the ThawSpace where the standard users’ data will be stored. The ThawSpaces created in the previous step can be selected here.
|
|
•
|
Admin Users To — select this option and specify the ThawSpace where the Admin users’ data will be stored. The ThawSpaces created in the previous step can be selected here.
|
|
•
|
Mobile Users To — select this option and specify the ThawSpace where the Mobile users’ data will be stored. The ThawSpaces created in the previous step can be selected here.
|
|
8.
|
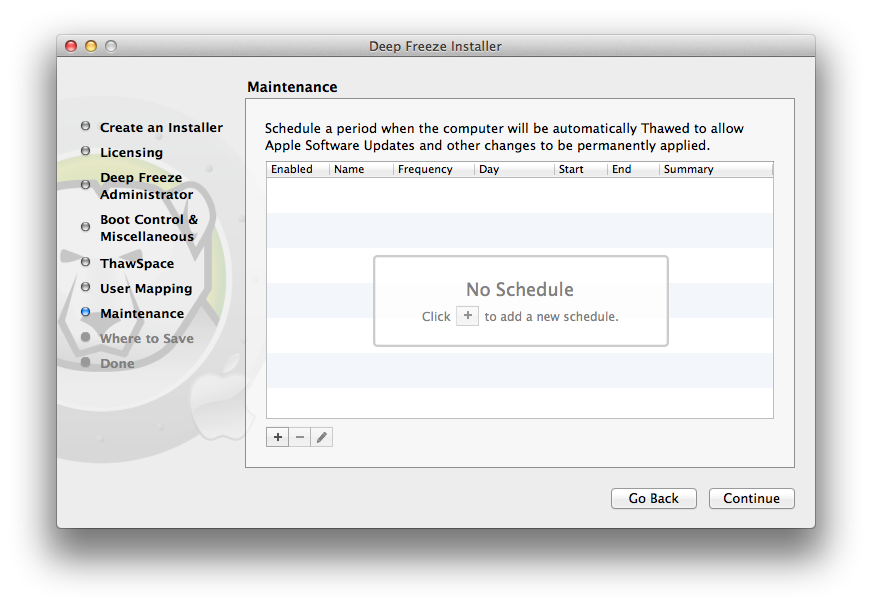
Select the following options in the Maintenance Screen and click Continue. Deep Freeze Maintenance Schedule allows administrators to schedule and automate maintenance activities. During the Maintenance Period, Deep Freeze will restart the computer in a Thawed state to perform the maintenance activities. At the end of the Maintenance Period, Deep Freeze will restart the computer in a Frozen state.
|
|
•
|
|
•
|
Select Install Apple Software Updates to install any available Apple Software Updates. Install Software Updates option does not install firmware updates.
|
|
•
|
Run script - select this option and select Add Script from the drop-down (for the scripts already in the Scripts folder). To add new scripts, browse to the folder, select an executable script file and click Choose to add script. The scripts will then appear in the drop-down menu.
|
|
•
|
Select Lock Out User to prevent a user from accessing the computer during the Maintenance Period.
|
|
•
|
Select Shutdown After Maintenance to shut the computer down after the Maintenance Period is complete.
|
|
•
|
Select Show message x minutes before maintenance starts to provide a message to users warning them that the computer will be taken over at a specified time, and enter the warning time in the field provided. Use the text box to enter a custom message for the user, explaining that the Maintenance Schedule will take place at a specified time; by inserting %d as a variable into the message, Deep Freeze will automatically display the number of minutes until the Maintenance Period begins. (Again, %d is a variable corresponding to the number of minutes between the current time and the time that scheduled Maintenance will begin.)
|
|
There is a minimum 10 minute interval required between schedules.
|
|
9.
|
|
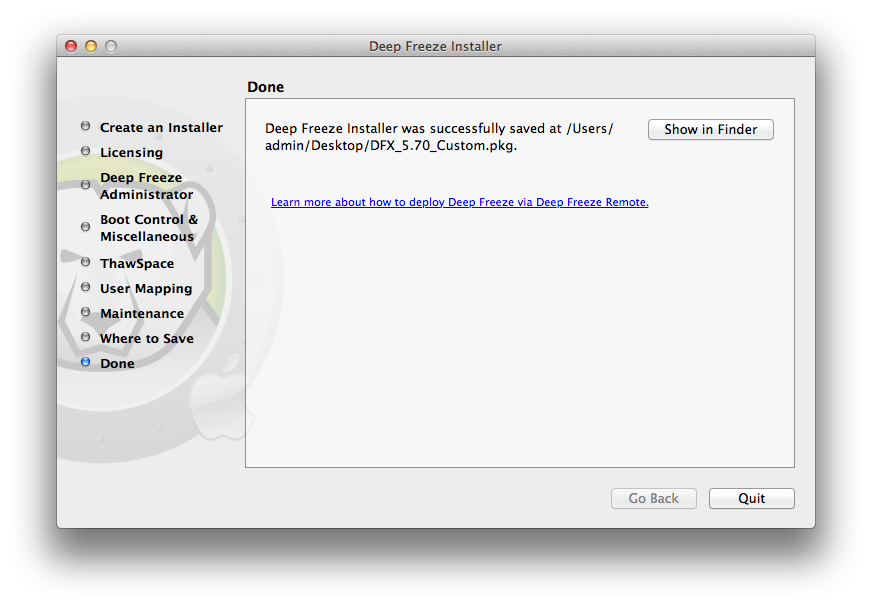
10.
|
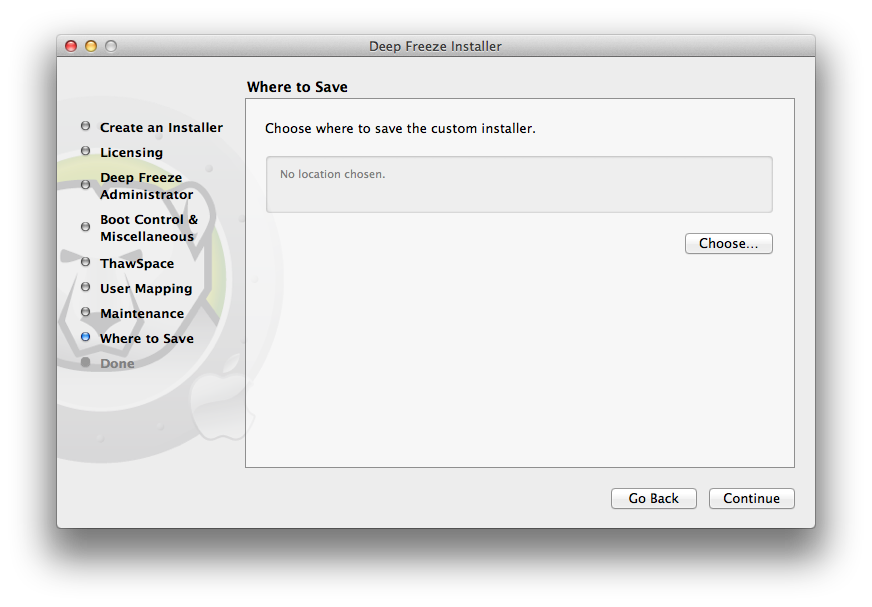
The Deep Freeze installer is successfully created and saved in the location specified. Click Show in Finder to view the file. Click Quit to exit the installer.
|