|
1.
|
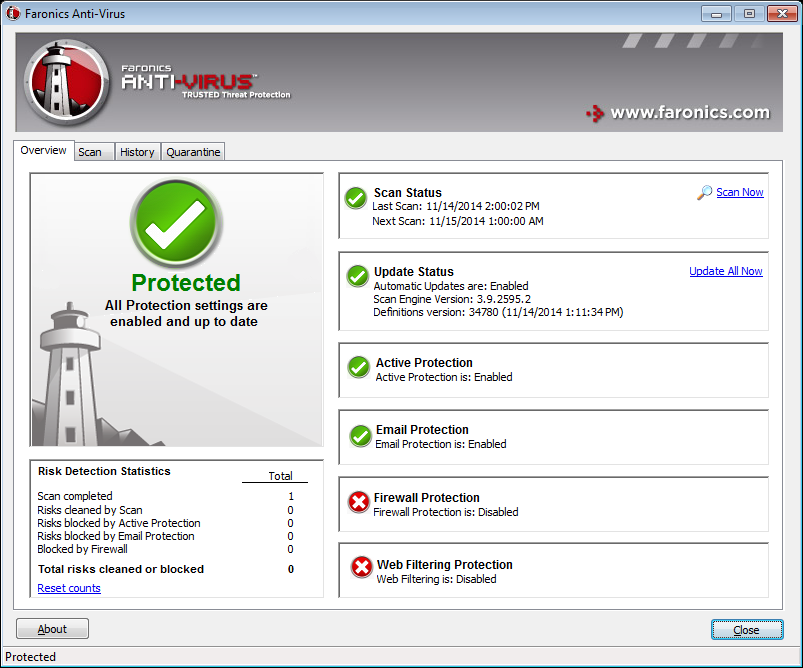
Go to Start>Programs>Faronics>Anti-Virus Enterprise>Faronics Anti-Virus Enterprise. Alternatively, you can double click on the Faronics Anti-Virus icon in the System Tray.
|
|
2.
|
In the Scan Status pane, click Scan Now. The Scan tab is displayed. Alternatively, you may also click the Scan tab.
|
|
•
|
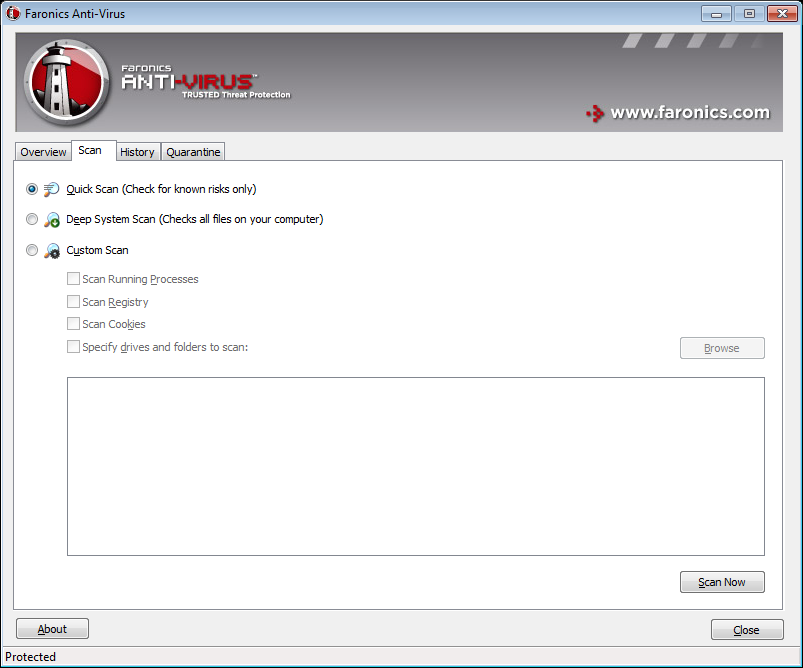
Quick Scan- scans only known threats.
|
|
•
|
Deep System Scan- a detailed scan of all files on the workstation.
|
|
•
|
Custom Scan (select one of the following):
|
|
—
|
Scan Running Processes - scans the process running on the workstation.
|
|
—
|
Scan Registry - scans the registry.
|
|
—
|
Scan Cookies - scans the cookies stored on the workstation.
|
|
—
|
Specify drives and folders to scan: Click Browse and select the folders.
|
|
4.
|
Click Scan Now. The spinning icon indicates that a scan is in progress. The scan results are displayed after the scan is completed.
|
|
•
|
Select Change Clean Action>Recommended Action to take the action as recommended by Faronics Anti-Virus.
|
|
•
|
Select Change Clean Action>Quarantine/Disinfect to quarantine or disinfect the file.
|
|
•
|
Select Change Clean Action>Delete to delete the file.
|
|
•
|
Select Change Clean Action>Allow to allow the file.
|
|
•
|
|
•
|
Click Details to display details of the risk.
|
|
•
|
Click Cancel to close the dialog without taking action.
|
|
•
|
Click Clean to remove the file and close the dialog.
|